
Install guide
How to Install No-Drill Roller Shades
Find your mount below, then follow the steps for your shade.
First: drill or no drill?
Before you start
- Unbox each shade. Match it to its window. The label shows the name, room, size, fabric and motor side.
- Keep the instruction sheet from your box by your side.
- Use a sturdy step stool. Ask a helper for wide shades.
No-Drill Inside Mount
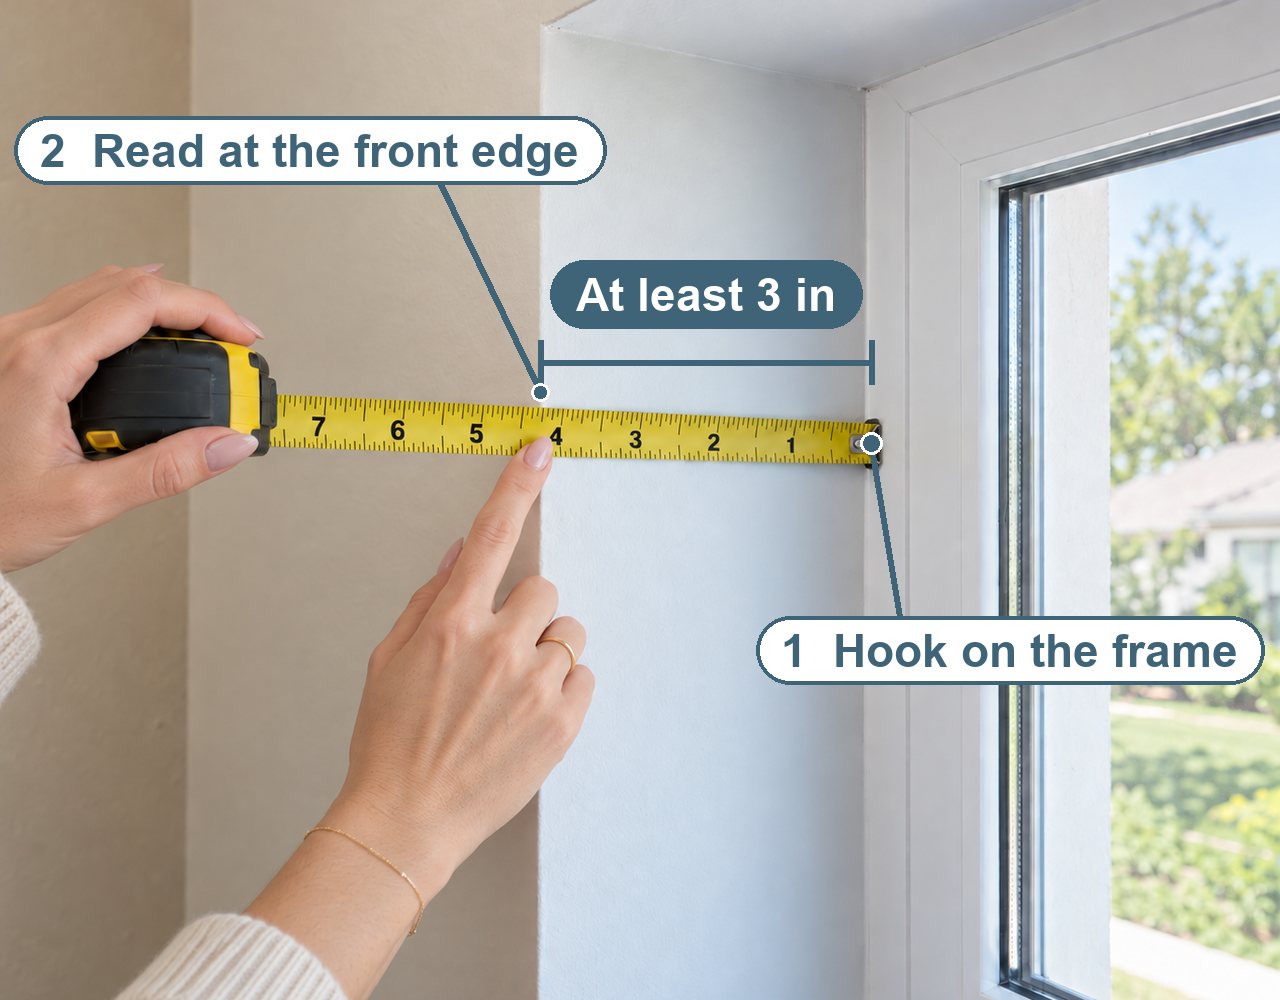
Check the frame
Keep it clean and dry. The sides must be firm and flat. You need at least 3 in of depth with nothing in the way.
Set the shade
Hold it level at the top of the frame. Face the fabric toward the room. Set it in place as the instruction sheet in your box shows.
Check and test
Check that it is level and snug. Give it a gentle tug. It should not move. Raise and lower it once, slowly.
Traditional Bracket Outside Mount
Mark the spots
Mark the bracket spots on the wall above the window. Keep them level.
Fix the brackets
Drill and fix the brackets. Use screws and anchors made for your wall.
Set and test
Set the shade into the brackets as the sheet in your box shows. Raise and lower it once, slowly.
Use it
Cordless
To raise or lower a Cordless shade, push the bottom bar up or pull it down by hand. The shade stays at whatever height you let go.
Motorized
Use the remote. Follow the motor card in your box to set it up.
Something looks wrong?
Stop. Do not force it. Email us with photos.
If our measuring guide caused a bad fit, we fix it free.
Damage or missing parts? Tell us within 7 days of arrival, with photos. We fix it free.
Take care as you go
You or the person you hire installs the shade. Follow these steps and the sheet in your box. Stop if the frame is loose or damaged. Do not hang on the shade. Read the full terms.